Enabling HTTPS on your website
Get free browser trusted TLS/SSL certificate for your website


Most of the websites today on the internet uses HTTPS protocol and there are multiple reasons supporting it. In this article I'll show you how you can use HTTPS on your existing website hosted on NGINX or Apache web server.
What is HTTPS?
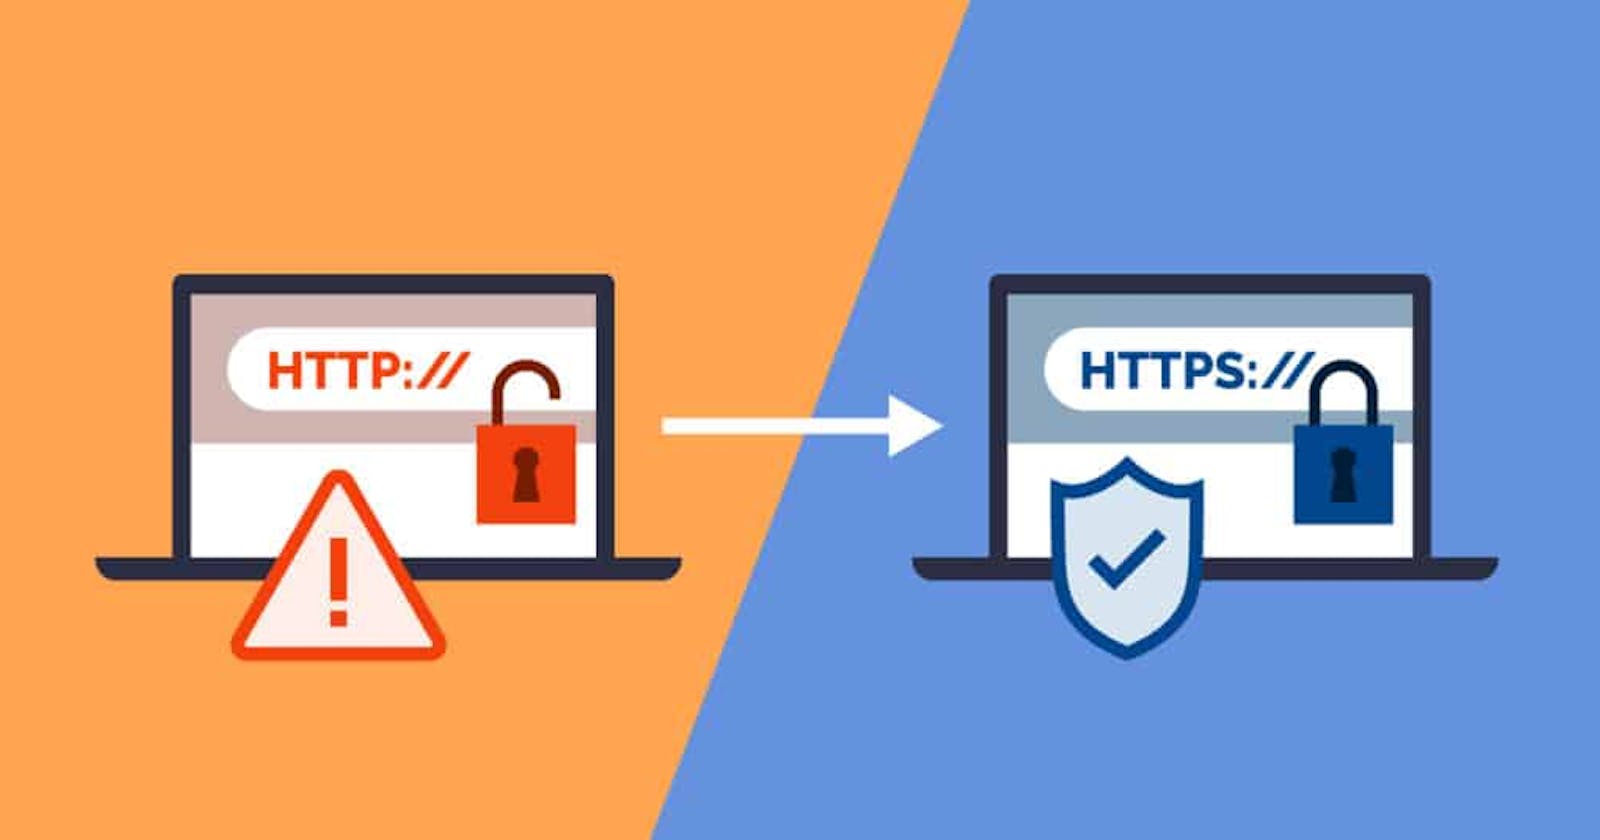
The S in HTTPS stands for "secure". HTTPS builds upon the original Hypertext Transfer Protocol (HTTP) standard to offer a more secure browsing experience. It uses Transport Layer Security (TLS) protocol to encrypt the network traffic. HTTPS protects the privacy and integrity of any data in transit and authenticates a website for the end-user.
Advantages of Using HTTPS
Some advantages of using HTTPS are:
Security
It protects users against man-in-the-middle (MITM) attacks that can be launched from compromised or insecure networks. Hackers can use such techniques to steal your customer’s sensitive information.
Confidence
The green padlock which appears on a secured site can give customers peace of mind that your website can be trusted and their information is safe.
Better SEO score
Search Engines prefer sites which supports HTTPS.
What is Let's Encrypt?
To enable HTTPS on your website, you need to get a certificate (a type of file) from a Certificate Authority (CA). Let’s Encrypt is a CA. In order to get a certificate for your website’s domain from Let’s Encrypt, you have to demonstrate control over the domain. Let’s Encrypt leverages the Automatic Certificate Management Environment (ACME) protocol to automate the certificate granting process through a challenge-response technique. With Let’s Encrypt, you do this using software that uses the ACME protocol which typically runs on your web host.
What is Certbot?
Certbot is a free, open source software tool for automatically using Let’s Encrypt certificates on manually-administrated websites to enable HTTPS. It is compatible with most operating systems as well as the most popular web server software, such as Apache and NGINX. Certbot is responsible for communicating with Let’s Encrypt to request the certificate, perform any required ACME challenges, install the certificate, and configure the web server. It can also automatically handle the certificate renewal process.
Steps to enable HTTPS on your website
Before we begin you must need a website accessible over HTTP using your desired domain. Breaking this down further, the following components are required:
A server running on Linux with credentials to a standard user account (belonging to the sudo group) and the ability to access the server through SSH or Lish.
A registered domain name with DNS records pointing to the IPv4 (and optionally IPv6) address of your server.
The NGINX/Apache web server software installed on your server and configured for your domain.
1. Installing snapd
Snap is a package manager developed by Canonical (creators of Ubuntu). Software is packaged as a snap (self-contained application and dependencies) and the snapd tool is used to manage these packages. The reason why snaps are becoming popular is because they are applications packaged with all their dependencies to run on all popular Linux distributions from a single build. They update automatically and roll back gracefully.
Since certbot is packaged as a snap, we’ll need to install snapd before installing certbot.
If snapd is not installed, then run the following command:
  sudo apt update
  sudo apt install snapd
Install the core snap using the following command to ensure that you have the latest version of snapd:
  sudo snap install core
  sudo snap refresh core
2. Installing Certbot
The next step is to install Certbot using the snap command.
If you have any Certbot packages installed using an OS package manager like apt, dnf, or yum, you should remove them before installing the Certbot snap to avoid conflicts with the new Snap package. The exact command to do this depends on your OS. Here assuming that the server is running Ubuntu.
sudo apt remove certbotUse Snap to install Certbot.
sudo snap install --classic certbotConfigure a symbolic link to the certbot executable using the ln command.
sudo ln -s /snap/bin/certbot /usr/bin/certbot
3. Requesting TLS/SSL Certificate using Certbot
Run Certbot to start the certificate request:
When Certbot runs, it requests and installs certificate file along with a private key file. When used with the NGINX/Apache option (--nginx/--apache), Certbot also automatically edits the configuration files for NGINX/Apache, which dramatically simplifies configuring HTTPS for your web server.
Request a certfifcate and automatically configure it(recommend):
For NGINX:
sudo certbot --nginxFor Apache:
sudo certbot --apacheRequest a certificate without configuring:
For NGINX:
sudo certbot certonly --nginxFor Apache:
sudo certbot certonly --apacheTo request the certificate without relying on your NGINX/Apache installation, you can instead use the standalone plugin (--standalone).
During the installation process, Certbot will prompt you for some basic information including your email address and domain name.
Enter email address. The first prompt is to request an email address where Certbot can send urgent notices about the domain or registration. This should be the address of the web server administrator.
Accept terms of service. Certbot next asks you to agree to the Let’s Encrypt terms of service. Use the link in the output to download the PDF file and review the document. If you agree with the terms, enter Y. Entering N terminates the certificate request.
Optionally subscribe to mailing list. Certbot asks if you want to subscribe to the EFF mailing list. You can answer either Y or N without affecting the rest of the installation.
Enter domain name(s). Certbot now requests a domain name for the certificate. For each domain name, you should request separate certificates with and without the www prefix. If you have more than one domain to certify, separate the names with either a space or a comma.
Certbot then communicates with Let’s Encrypt to request the certificate(s) and perform any necessary challenges as defined in the ACME standard (see Challenge Types). In most cases, ownership can be proven through the HTTP challenge, which automatically adds a file on your web server. If you wish to change the challenge type or perform challenge manually, see the Manual section in the Certbot documentation.
If the operation is successful, Certbot confirms the certificates are enabled. It also displays some information about the directories where the certificates and key chains are stored, along with the expiration date. Certificates typically expire in 90 days.

Your website will now use HTTPS. To confirm, go to your website and make sure to enter the URL with the https:// protocol. If a lock appears to the left of the domain name in the browser's address bar, the certificate is most likely functioning properly. If the certificate is not correctly installed, the browser displays a warning page.
Renewing a TLS/SSL Certificate Using Certbot
Upon installation, Certbot is configured to renew any certificates automatically.
The command to renew certbot is installed in one of the following locations:
- /etc/crontab/
- /etc/cron.*/*
- systemctl list-timers
It is not necessary to manually request an updated certificate or run Certbot again unless the site configuration changes. However, Certbot makes it possible to test the auto-renew mechanism or to forcibly update all certificates.
Test Automated Renewals
You can test automatic renewal for your certificates by running this command:
sudo certbot renew --dry-run
Certbot inspects the certificates and confirms that they are not due for renewal, but simulates the process nonetheless. It displays information about whether the renewal would have been successful.
To manually force Certbot to renew all certificates, use renew command without any options
sudo certbot renew
References
I hope this article helps you in enabling HTTPS on your website.
Questions, suggestions, a word of thanks is always encouraged.